...when you don't have a three-year-old going "Mummy, Mummy, Mummy"!
Yesterday afternoon while G was having her afternoon nap (I'm not sure how much actual sleeping she gets done, but it's two hours of quite time for both of us), I hauled out my travelling crafting stuff and started to play with some of the things I was given at Stitches (the UK craft Trade Show) this year.
So this morning while G is off having her first trial morning at Nursery School, I'm compiling together some of my discoveries. Most of this will be old hat to the more seasoned crafters (I'm Leading Edge, not Bleeding Edge), some of you may have not had a chance to play or have had failed attempts.
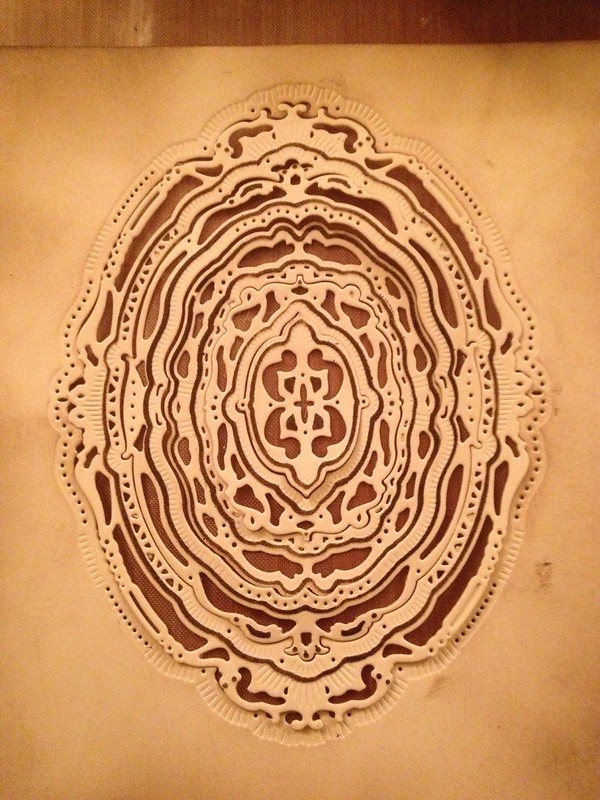
I'm playing today with the Spellbinders Nestabilities Majestic Elements. I took at workshop with Kim Hupke at Stitches and she very generously gave us each something to take home. This was my choice.
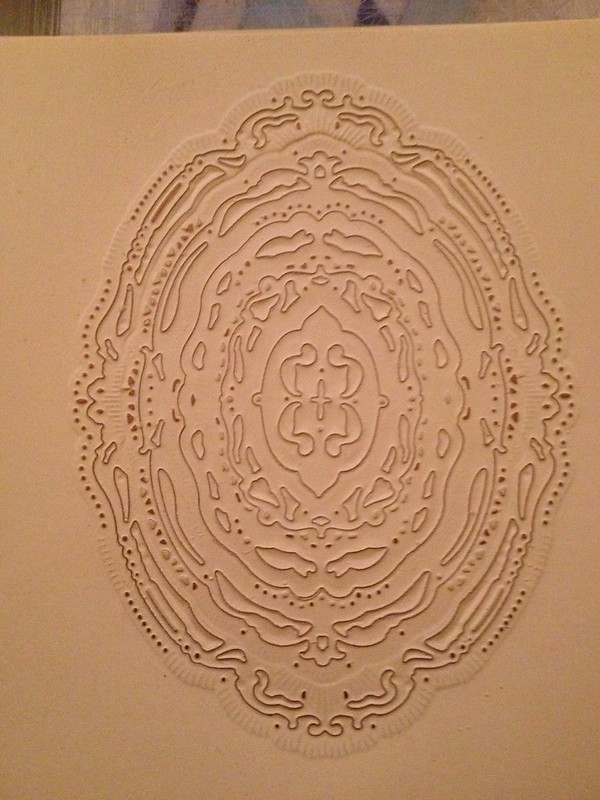
This is the set as it comes out of the packet. There are seven different dies in the set but the possible combinations are amazing. I understand that they are also sized to work with other Nestibilities so if you have them, it becomes mind boggling as to what you can achieve. The first thing I do when I get a new set of dies is to cut them out on plain paper to see what they look like cut. This gives me ideas of what might be possible. With these dies, they are so incredibly intricate that I think doing a plain cut is essential. Even if you choose to use them rather than keep them for reference, at least you'll have an idea of what is possible with them.If you're doing this with the Nestabilities, note that it is fiddle to get them lined up properly. You will need some low-tack tape. If you don't have any to hand (like me), normal tape will do, but rub it a few times on your trousers to remove some of the stickiness.
If you own a shop, position your low-tack tape right next to the spellbinder dies so that customers can easily pick them up when they buy the dies and if they approach the counter holding the dies, take the opportunity to suggest the additional purchase.
After taping all the dies down, I ran them through my Big Shot. Here is my sandwich recipe for the perfect cut using standard cardstock:
- Multipurpose Platform with all the tabs on it
- 2-3 sheets of lightweight cardstock
- Cutting plate
- Cardstock I'm cutting face up
- Dies cutting side down
- Cutting plate
When you run this sandwich through the machine, it should resist going through but not completely halt. If it goes through relatively easily, add another sheet of cardstock at the second layer. If it is too stiff, remove a sheet. I ru. It through and then just before it releases, rewind it back through the machine just to be sure. Never force a sandwich through the machine.
On these very intricate designs, you may find after a couple of uses that the dies are difficult to remove. Spellbinders advise to put a piece of wax paper between the die and the cardstock. since we don't have wax paper here in the UK, rub over the surface with a wax candle, blitz it with your heat gun and then rub down with a cloth to take off the excess.
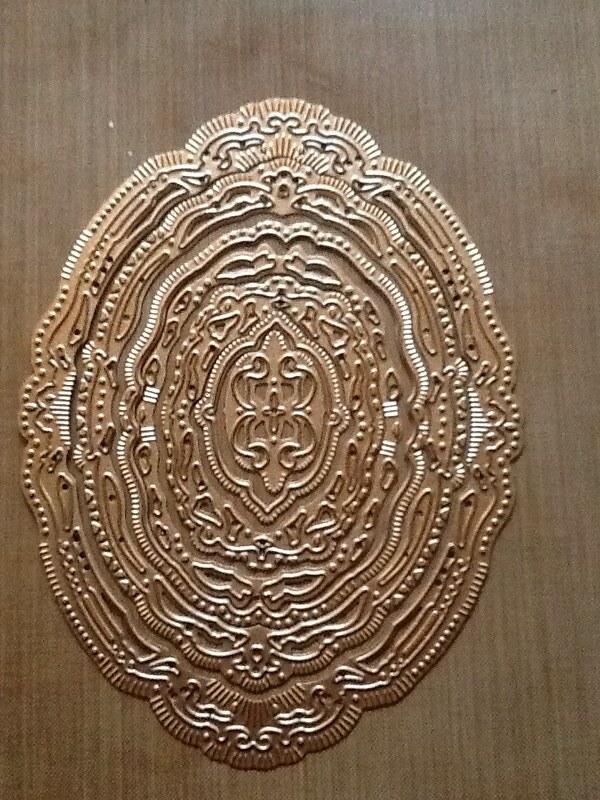
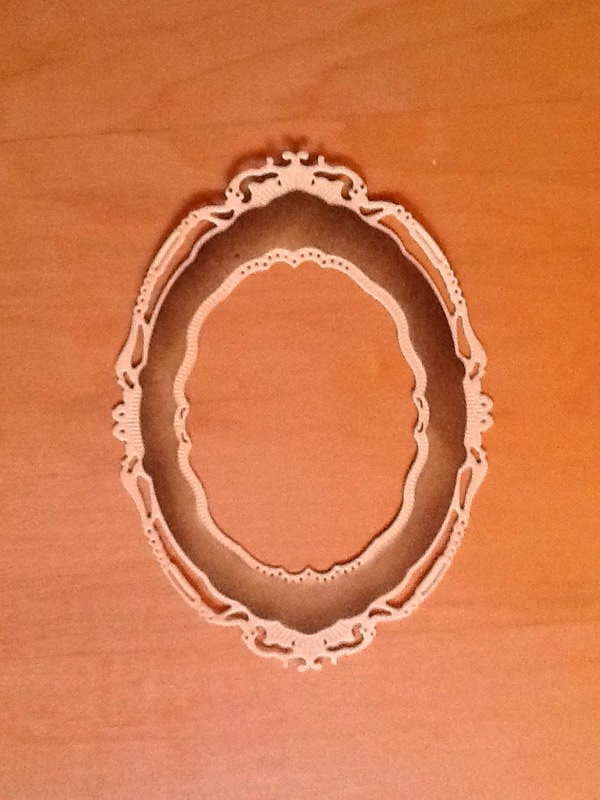
This is the set, cut, embossed and stencilled. You can see there is some really fine detail that gets picked out when you emboss over the top. I've used Walnut Stain Distress Ink to really show up the details.
Some of the dies only emboss and stencil, not cut. It's fun to play around and see what you can come up with.
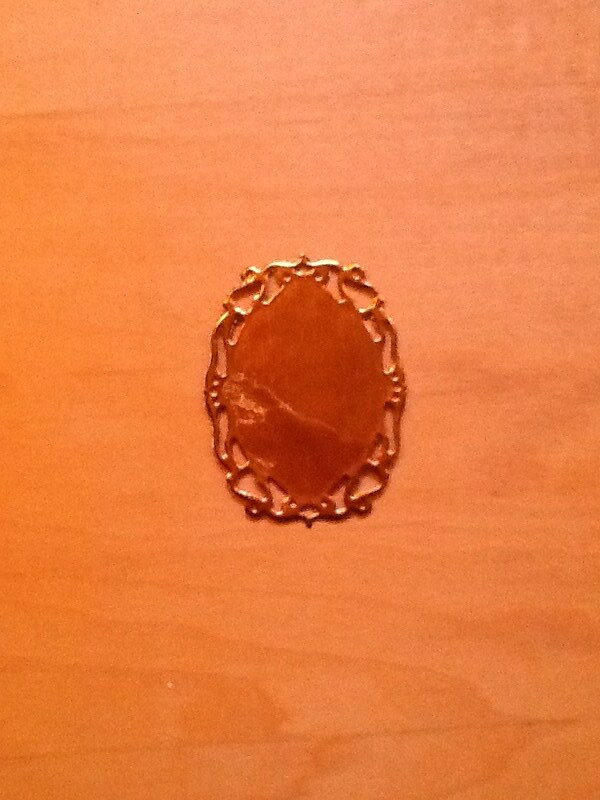
Next thing I've done is cut each die out separately so I could see exactly what each die is capable of.
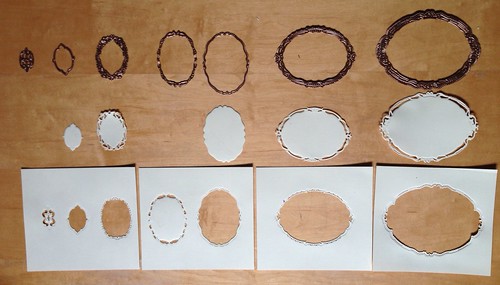
You can see from the above photo that the fourth largest and smallest dies don't cut out a frame, but I'm imagining how the fourth largest would look on a photo.
My final thing I've done is to try out the die cut in a couple of ways. Firstly, I used No.1 and No. 3, taped both dies down and cut and embossed them. I removed the tape while leaving the dies in place and inked over the dies. I really love the sharp edges you get from inking over the die.
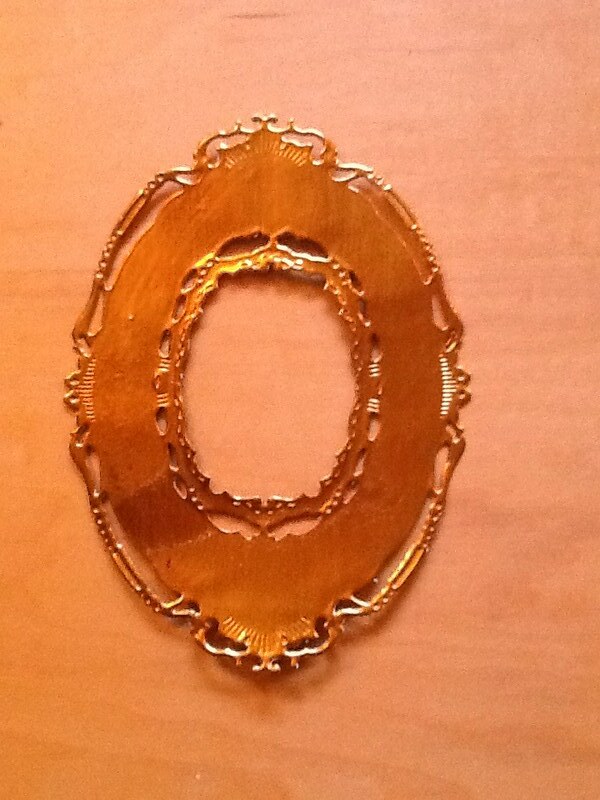
Finally, using No. 1, No. 4 and No. 5 I cut using a tomato paste tube. I have a few tips for using these.
- Cut the top and bottom off the tube as close to the ends as possible.
- Cut a sliver of tube off the side and unfold.
- Wash thoroughly (I throw them in the dishwasher).
- Run them through your die cutting machine as though you were embossing it to flatten it.
- now it's ready to die cut.
My sandwich recipe for cutting and embossing the tomato paste tubes on a Big Shot using Spellbinder dies is as follows:
To Cut:
- Multipurpose Platform with all the tabs on it
- 3-4 sheets of lightweight cardstock
- Cutting plate
- Tomato past tube I'm cutting with the inside face up
- Dies cutting side down
- Cutting plate
To Emboss:
- Multipurpose Platform with the top tab pulled back
- Cutting plate
- Die face up with cut cardstock on top
- Embossing pad
- Embossing plate
There are a few things you need to take into account when cutting metal. Firstly, metal picks up more detail than cardstock does. If your cutting plates are very old and therefore quite marked, some of this texture may show through on the final cut. Secondly, you'll need to tape the dies down before you run them through for the cut pass. No matter how steady your hand is, they will shift. However, if we go back to the previous point about metal picking up more detail, you need to remove the tape before you run through for the embossing pass or you'll end up with some very nice tape marks on the metal. Finally, the tiny little holes will not cut on tomato tubes. Although the metal is very soft and pliable making it ideal for this treatment, it is thick enough that it simply cannot cut these tiniest of holes. I actually like the look - little dimples.
If you're a teacher like me and you're planning to use these dies in a class, can I please advise you of one thing: design the class so that the students cut out their own die cuts. Although this will complicate things if you've either got lots of students and/or only one machine, trying to cut out all the dies needed for a class will drive you insane. In fact, if you can't see any other way of doing the class than having the dies pre-cut, hire a errant teenager to do this. The hours of poking little pieces of paper out of the dies will be punishment enough for any transgression committed.
I think you'll really love these dies. The delicacy of the finished die cut is amazing. They almost look like lacework. I almost wish they were my idea!