This morning I've been playing with some more new toys that arrived the other day. I finally have a Vagabond by Tim Holtz for Sizzix. As usual, my first thing when I get new toys is to try them out and see what I can achieve with them. So far, so good...
Until I got to some of the other toys I was given at Stitches a few weeks ago. Among my gifts is one of the Spellbinders M-Bossabilities folders. Fantastic idea. It takes the embossing folder one step further by making them double sided so you have two choices of patterns for the price of one. This does make them a little thicker than the Sizzix embossing folders, so the normal "sandwich" recipe doesn't work. Still, I didn't want to break my brand new Vagabond, so I approached with caution. No help out there on the Internet that I could see from a google glance and the sandwich I used in the Big Shot doesn't work on the Vagabond. Please note: never force a sandwich through your die cutting machine or you may break it. Approach with caution and start with it being too loose and shim up as needed. It is better to waste a few sheets of card trying to get the perfect result than busting up your machine because you tried to jump ahead too quickly.

So, with a little trial, here is my sandwich recipe.
- Solo Platform with Solo Shim in place
- 3-7 sheets of cardstock, depending on how thick your cardstock is - start with a few and build up until you achieve the result you want. I used the thickness of my Texturising Pad as a guide.
- The diffuser of choice, taped to
- The M-Bossabilities folder
The tape will prevent the Diffuser from shifting while you run it through the Vagabond. Since it will be upside down as it goes through, you won't be able to see it if it shifts.
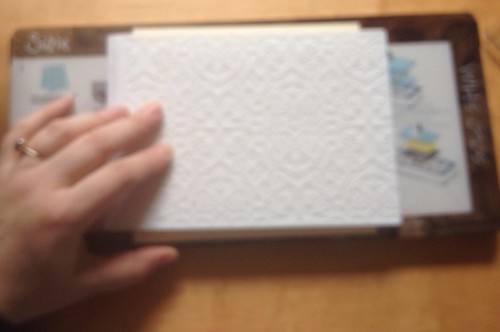

So here are laid out all my ingredients and the sandwich made up ready to go through (I left the card shim sticking out for the photo, but you should tuck this in before sending it through the machine.
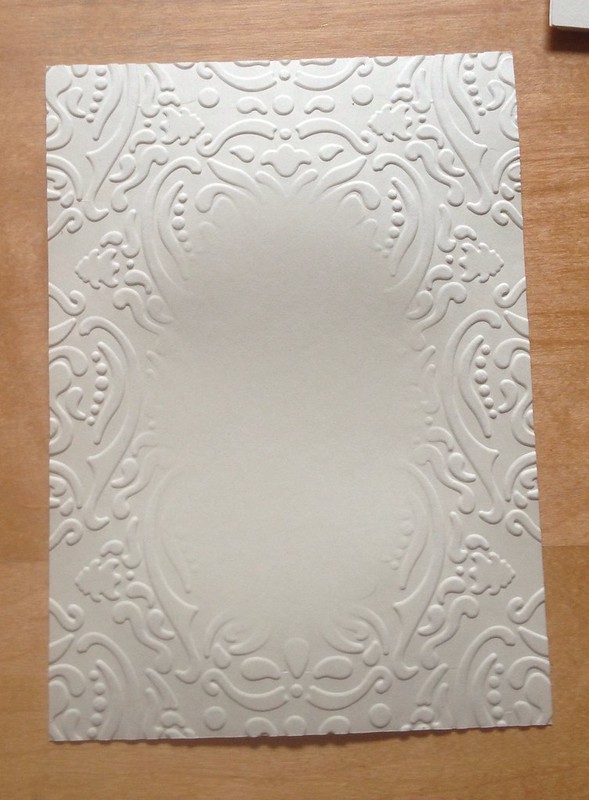 |
| Completed embossing with diffused centre |
Finally, the completed embossing with the centre diffused. What I like most is that there isn't a harsh line between where the embossing ends and the diffused section begins, as there is on embossing folders where there is a gap. I also like that you can choose where the diffused bit is. Plus the set also comes with the cut out centres so you can choose to emboss a section in the middle and leave a border unembossed.
Generally, when I make cards, I make a card front separately from the card itself. This allows me to get mucky without wasting a perfectly good card blank. There are so many other freedoms it affords: I can choose a different colour card blank from my card front, I can put my A6 front onto an A5 card if I want a bigger card and I can make all the mistakes I want.
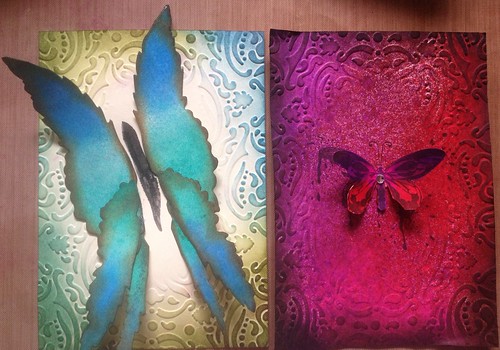 |
| Completed card fronts |
I ran two fronts cut down to A6 size (11.5 x 14.8cm) through as outlined above and here are the completed fronts.
The butterfly on the left is made using the Layered Angel Wings Die by Tim Holtz for Sizzix. They were sprayed with Dylusions Ink Sprays and dried with my heat tool. I then ran around the edges with Vintage Photo Distress Ink and swapped the two smaller pieces from one wing with the same from the other, turned them upside down to give the feel of a butterfly. The body was created by simply painting a stripe down between the two wings. The edges of the front were inked with Broken China and Peeled Paint Distress Inks using an Ink Blending Tool.

The right side is a bit more of an experiment. Using Jet Black Archival Ink, I stamped the butterfly from the Fairytale Frenzy set by Tim Holtz for Stampers Anonymous in the diffused centre and then blended Vintage Photo Distress Ink around the edges but it was missing something. So I spritzed Bubblegum Pink, Crushed Grape and Postbox Red and dried with a heat tool. Better, but now the butterfly had disappeared, so I stamped the butterfly again and cut it out.
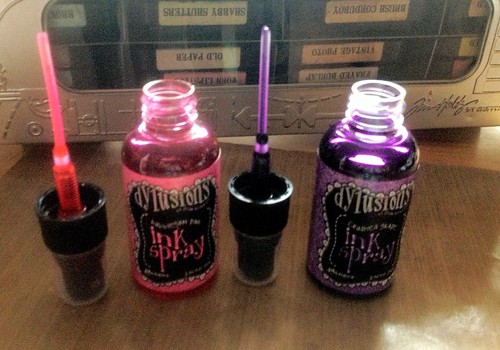 |
You can see that the texture of the sprayed background is different from the cut out butterfly. I simply brushed the ink on rather than spraying. Not only does this give you more control, but the inks blend so beautifully. If you've seen Dyan Reavley demonstrating her inks, she uses water brushes from Ranger to paint with. This is a great idea, especially when you're travelling but at £9.99 per brush its going to take me time to buy 12 (and a further 6 for the new colours about to arrive). So, in the interim, simply twist the lids off and turn upside down next to the bottle and use the open bottle like an ink well.